
No guts, no glory. No pain, no gain. That was my mantra this morning as I tackled the final steps of my first Ginger jeans. And in between, the air was blue as I cursed that buttonhole and those belt loops.
I’m blogging about this while the experience is fresh. I’m on a high, sitting here wearing my awesome jeans. Feeling pretty damn triumphant, like a sewing Superhero, even though less than two hours ago I was replacing the waistband and swearing at that buttonhole.
In case you don’t follow the ‘sewing scene’, the Ginger pattern is by Montreal based Closet Case Patterns and has pretty much inspired hoardes of home sewers to tackle one of the most challenging and satisfying projects there is. Personally, I have a love/hate relationship with jeans, and even when spending a large sum of money on designer pair, I’ve never found the perfect fit. Ultimately, fit is one of the reasons I love sewing and the idea of sewing a pair of jeans with amazing quality fabric and great fit, was all the temptation I needed. Also, they cost me a mere £25. Big win, if you can pull this off!
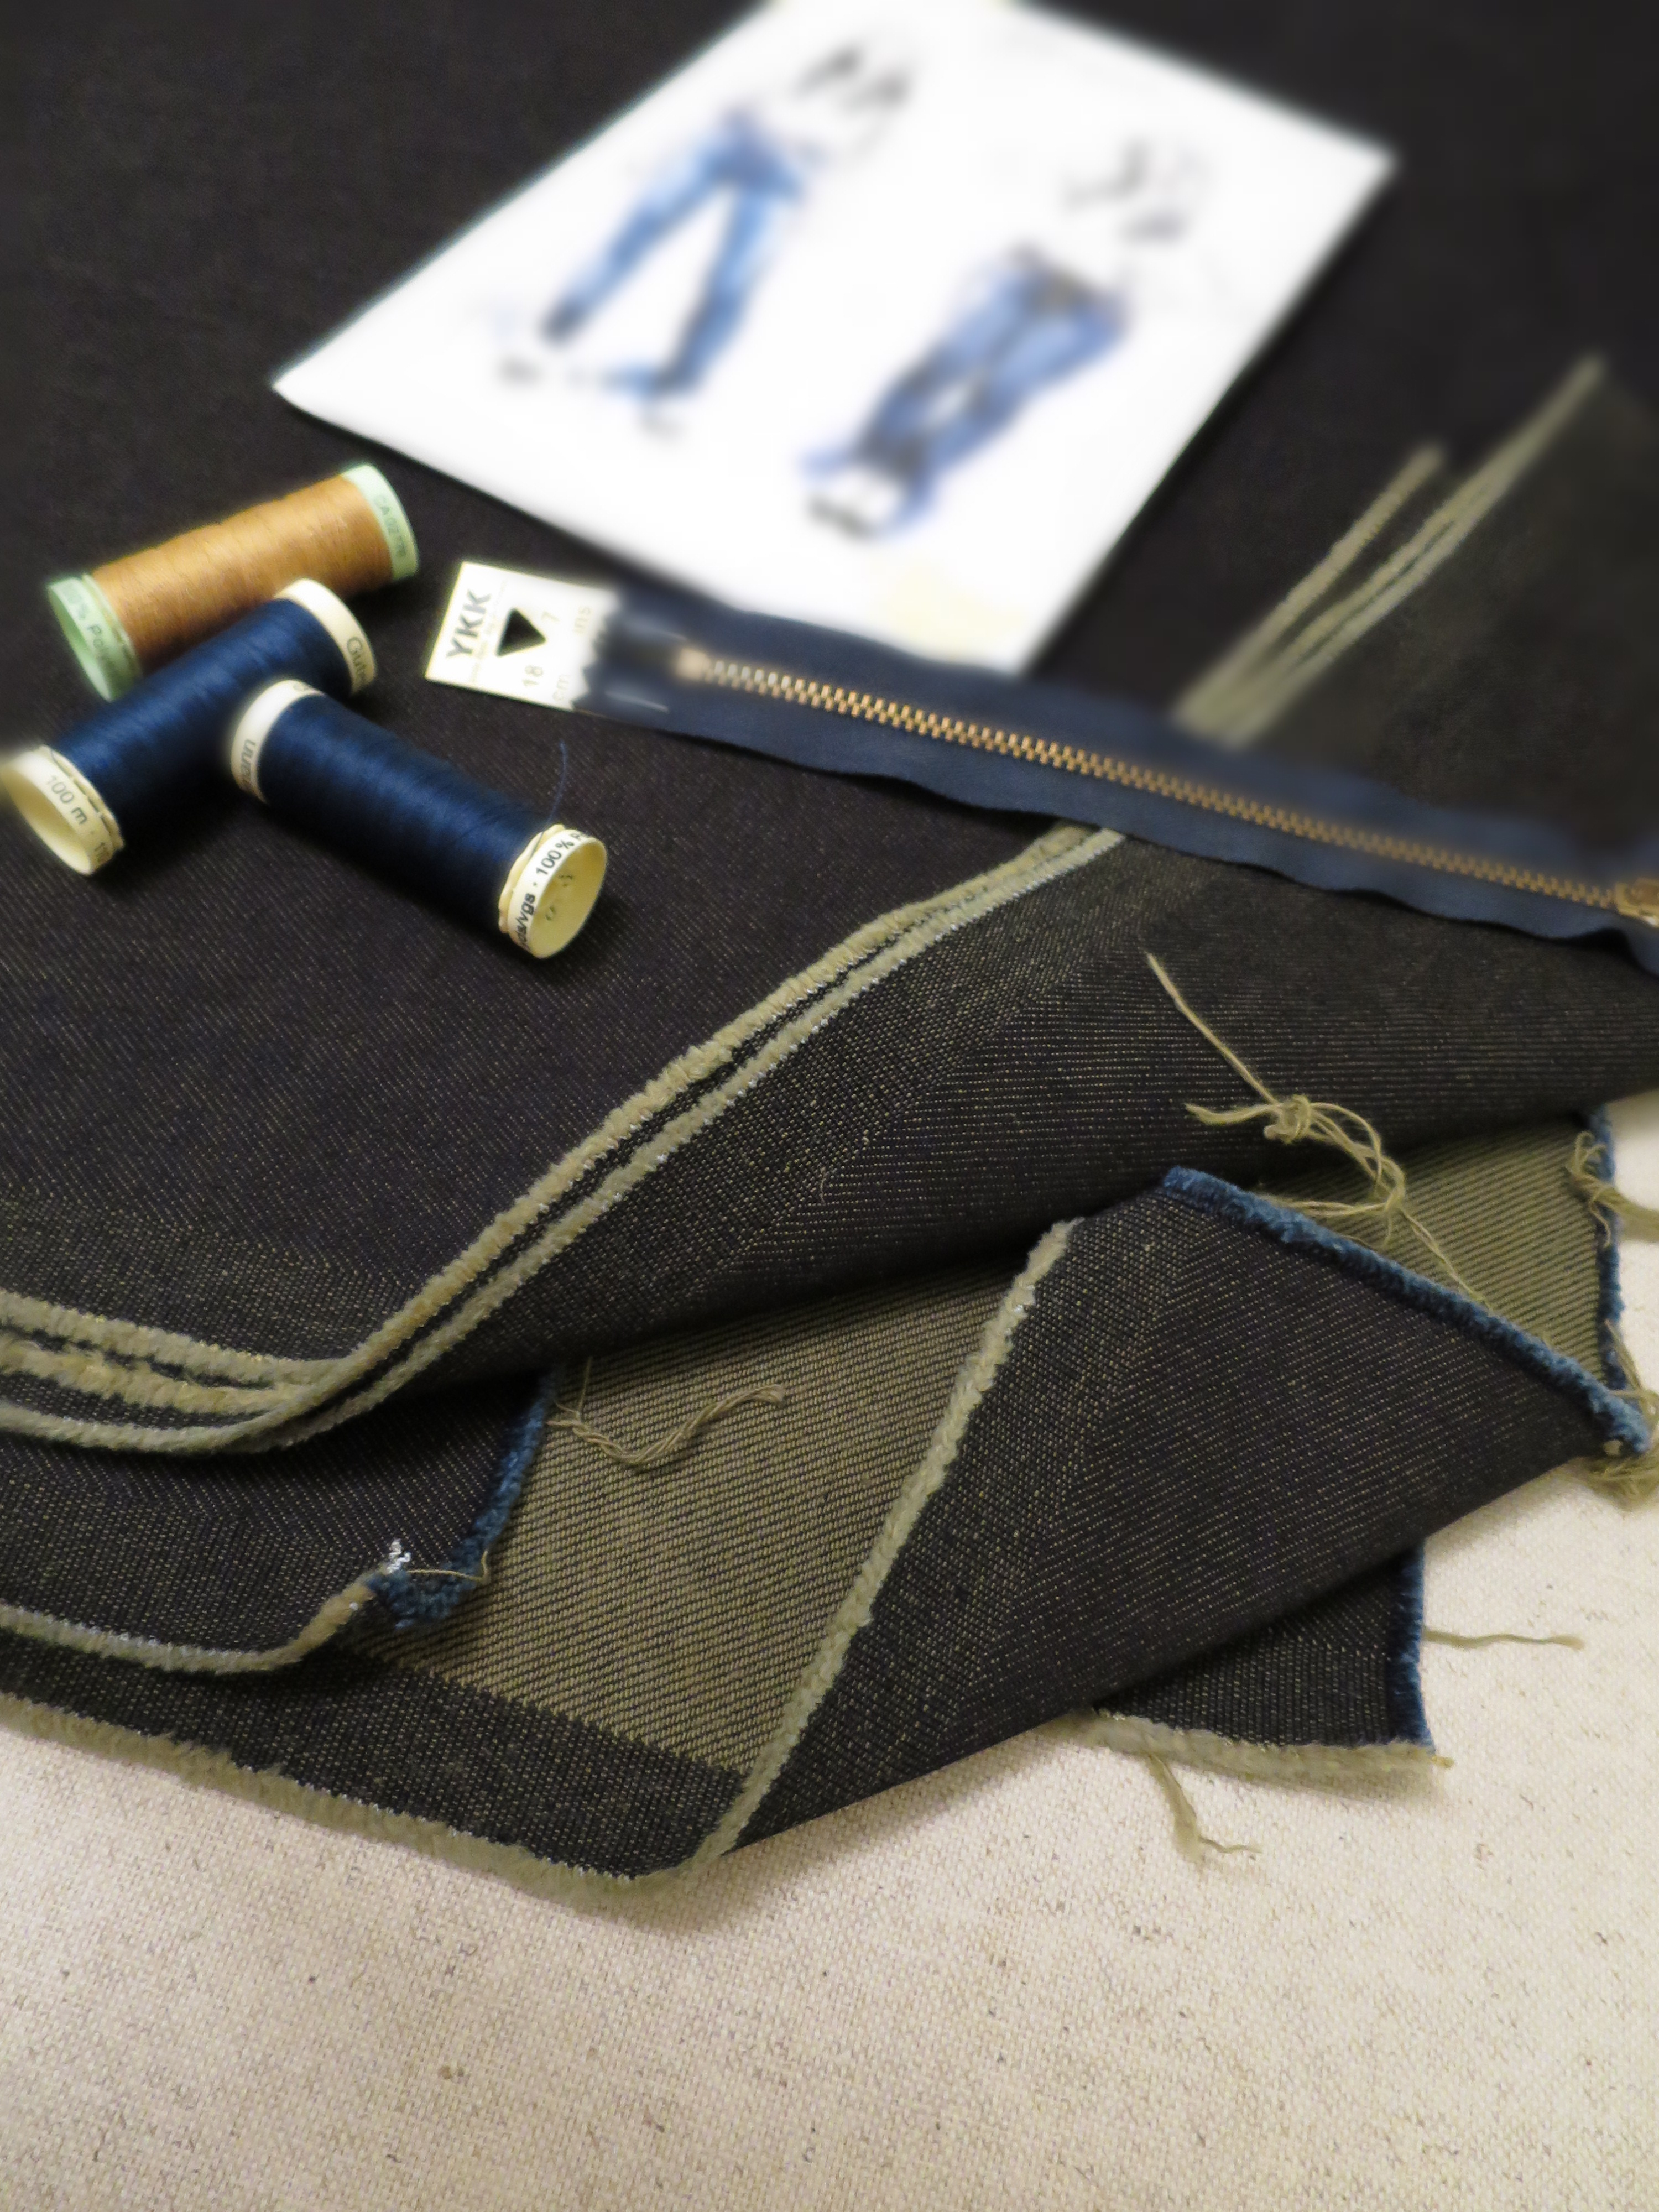
To make jeans that really look like jeans, you need to start with a decent quality, weighty denim. I purchased a couple of metres of 11oz dark indigo denim which is cross-woven with green, so it’s green on the back. See how much fun you can have making your own jeans? It’s called ‘Green Legend’, which makes me feel even more like a Superhero, and was purchased from Backstitch.
Here it is after the pre-wash and you can really see the green on the frayed edge. I imagine this is going to add an unique touch when my jeans have had a lot of wash and wear, as you’ll be able to see the green tone on the fade.
Following the pattern measurements, I traced off a size 12 on the hips, where I’m a little wider, and graded to a size 10 at the waist, and a 10 tapering down the legs. I also measured the pattern carefully, but as these are skinny jeans they are designed with negative ease so you can’t rely on these measurements as much as with other patterns. Negative ease simply means that the garment is designed to be smaller than the wearer. The pattern calls for denim with 2 or 3% stretch, so ultimately you end up with a figure-hugging fit.
As advised by the pattern instructions, I basted things together, to check the fit. I’m glad I did because I found things to be just a little tight all round. When I sewed the seams for real, I used a 1cm seam allowance instead of the 1.6cm just to give myself a little more room. They are a great fit now. There is 2% stretch to this denim, although I don’t really notice it yet. Time will tell whether things will loosen up during the course of the day.
One of the tell-tale stylings of a real pair of jeans, is the abundance of top-stitching. I would say this is probably the trickiest area of this project. So that I didn’t have to keep switching threads while sewing these jeans, I had a trio of sewing machines set up. I used my Janome DKS100 for the top-stitching, my overlocker to finish the seams, and my beloved vintage Novum for the seams. This last machine is an absolute beauty which I picked up in a charity shop a few years ago. I can honestly say that compared to my fancy Janome, this baby glides through denim like butter.

I have to say, despite being more vocal, the Janome did produce some neat top-stitching. I used a ‘hump-jumper’ to keep the foot level and this was really useful.

The greatest challenge was not getting the machine to stitch evenly, but for me to space my lines of stitching evenly! I was being a bit of a perfectionist on the pockets because this stitching is just so visible. I actually unpicked the first rows but after that I just accepted that any little kinks would just have to be part of the process. In the end I found that once each stage was out of the way, the nagging deficiencies in my sewing just stopped nagging. You can see on the belt loops below that I ran out of top-stitching thread because fussy tendencies made me unpick and re-do a few areas! Looking at this picture is probably the last time that will bother me.

Ginger is a fabulous pattern, and the instructions are great, but I also used the sew-along pages on the Closet Case website. The large amount of clear photos and detailed instructions and tips made the process quite straight-forward. The hard parts are completed first really, those being the pockets and the fly. The construction itself is pretty simple stuff.
I came a little unstuck when I was on the home straight. I had the waist-band on, and top-stitched. But then I had a nightmare trying to get my machine to sew the buttonhole! I eventually realised that I hadn’t trimmed the zip down sufficiently and those metal teeth were, quite understandably, upsetting things. Likewise with the hole for the button. I made such a hash of both that I ended up unpicking the entire waistband and re-doing it. This morning I got back in the saddle and fitted the new waistband. I still had trouble getting either of my machines to sew a ‘good’ buttonhole, but there is a buttonhole!
The air is no longer blue, but my hands are! They are so stained that I’m worried about the effect of brand new denim on my furniture. I’ve already forgotten the stresses of this morning and in the end, the little hiccups have just been part of the learning process. I’m so thrilled to have made a pair of jeans which really do look like a pair of jeans. The fit is just divine and I’m that walking-on-air kind of pleased with myself. I’m already planning the next pair, and the pair after that.
So it’s time to show of the fruits of my labour. My Ginger jeans, paired with my favourite Archer Shirt and, in the final photo, my recent Tamarack Jacket. Many thanks to my lovely daughter for the photo shoot!


Ooo! Looks great! Did you find the 11 oz denim to be the right weight when it was seen up? Thins pattern is on my ‘to do list’. Your Tamarak jacket is gorgeous as well =)
LikeLike
Hello! Thanks – yes I found the 11oz denim to be a brilliant ‘real jeans’ kind of weight. I’m sure 10oz would be perfect too (maybe marginally easier to do that buttonhole too!) and that seemed more common when I was shopping around for fabric. Good luck with yours.
LikeLike
So inspiring! Great work.
LikeLike
Thank you!
LikeLike
Very nice!
LikeLike
Thanks! I am wearing these so much – amazing pattern.
LikeLiked by 2 people